CAMPING HACKS
How do you make an upside-down fire? 10 tips to build a fire like a pro
Published on September 13, 2024
 Image: Siim Lukka
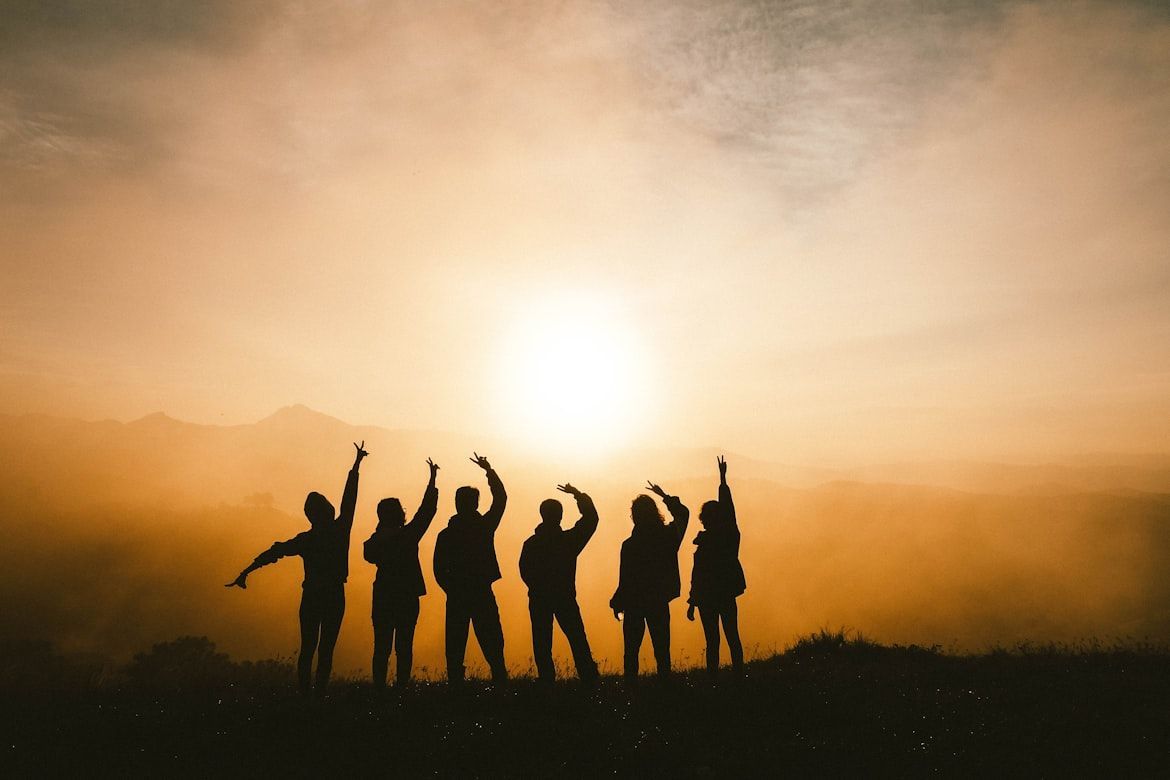
Bradbury was right; it is a pleasure to burn. Whether you're out in the wilderness or simply enjoying a backyard campfire under the stars, starting and maintaining a fire is both a joy and an essential skill. Fortunately, fire is one of humanity’s oldest companions, and we have devised thousands of ways to build and keep it. Whether you need warmth, a cooking flame, or just ambiance, there’s no single way to build a fire. To help you master this art, we've compiled 10 expert tips to ignite and sustain your fire. Maybe you’ll impress your friends or family on your next camping trip or barbecue!
Building The Foundations
 Image: Nathan Lemon
Tinder is the foundation of any fire. Make sure to gather dry, easily combustible materials like dry leaves, grass, pine needles, or birch bark. These materials catch fire quickly and help ignite larger pieces of wood. Also, kindling can help bridge the gap between tinder and larger logs, building up the heat necessary to ignite the main fuel. Beforehand, find small sticks, twigs, or split wood pieces with a hand axe to accelerate the process.
Finally, if you are away from civilization, always bring reliable fire starters like waterproof matches, a lighter, or flint and steel. In antiquity, people used time-consuming techniques like friction or even resorted to carrying embers in their backpacks, but modern fire starters fit conveniently in your pocket.
Oxygen Is Your Best Friend
 Image: James Wheeler
Fire is a chemical reaction that requires oxygen to keep burning. Ensure there’s enough space for air to circulate through your fire structure, and avoid packing materials too tightly, as this can easily smother the flames, leaving you with a smoking (and cold) mess.
However, while oxygen is crucial for sustaining a fire, too much air can be problematic, especially when you're starting it. As anyone who has tried to make a fire on a windy beach can tell you, strong winds can easily disrupt the process. Fortunately, you can shelter your fire by creating a windbreak with rocks, larger logs, or other materials to protect it from strong gusts.
Choosing The Fuel
 Image: Tijana Drndarski
It may seem obvious, but wet or green wood doesn’t burn well. It produces a lot of smoke and can even extinguish a fire you've already started. If dry fuel is scarce, you can start a smaller fire and use it to dry larger logs by placing them around or above the flames. At home, store your firewood off the ground or in a sheltered area to keep it dry. Having a designated spot for your wood allows you to store green wood and let it dry until it's ready for use.
Additionally, different types of wood are better suited for various stages of a fire: hardwoods, like oak or maple, burn slowly and steadily, making them ideal for sustaining a fire, though they can be harder to ignite. On the other hand, softer, more resinous woods, such as pine or fir, make excellent kindling due to their quick ignition, but they burn too rapidly to be used as the primary fuel for a long-lasting fire.
Exercise Fire Safety
 Image: Jen Theodore
Exercising proper fire safety can make the difference between having a warm, pleasant time next to a crackling fire, and experiencing a dangerous, potentially destructive situation. Always clear the area around your fire pit, keep water or a fire extinguisher nearby, and never leave the fire unattended.
When you are done, make sure to extinguish it completely. Douse the fire with water, stir the ashes, and ensure everything is cool to the touch to prevent accidental wildfires. Properly extinguishing your fire ensures that the only lasting memory is the good time you had, not an unexpected disaster.
The Lean-To Fire
 Image: Colter Olmstead
There are myriad ways to build a fire, but knowing which type is best suited for different situations can be game-changing. The Lean-To fire is ideal for windy conditions or when you're short on dry materials.
Start by planting a long, sturdy stick or larger log into the ground at an angle. Pile tinder and small kindling against the inside of the log. Light the tinder, and as it catches, lean larger sticks and logs against the main one, creating a shelter-like effect. Alternatively, you can use rocks or any kind of solid structure as support for a Lean-To fire. This setup shields the flame from the wind and helps it grow steadily.
The Teepee Fire
 Image: Sage Friedman
The Teepee fire is a classic and efficient method. Start by arranging your tinder in a small pile and place kindling around it in a cone shape, as if forming a small teepee. As the fire ignites, the flames rise through the kindling, setting it alight. The heat generated by the initial blaze will help ignite the larger logs you add next, keeping the fire going strong.
However, note that this method often requires more attention at the start compared to other techniques, as it is often more exposed to the elements. Also, you can't add larger pieces of fuel until the flames and heat are sufficiently strong. This initial vulnerability means you'll need to closely monitor and adjust the fire to ensure it catches properly and builds up enough heat to sustain larger logs.
The Log Cabin Fire
 Image: Jackson Hendry
The Log Cabin fire structure offers stability and a long-lasting burn. Start by laying two large logs parallel to each other, then place two more logs on top, perpendicular to the first pair, creating a square base—just like building a log cabin.
Continue building up in this criss-cross pattern, leaving the center open. Then, fill the center with tinder and kindling, and light it. The stacked logs will provide a steady fuel source, while also creating a sturdy structure that is ideal for cooking.
The Swedish Torch
 Image: Dan Edwards
The Swedish Torch, also known as a Canadian Candle, is a self-contained, long-burning fire. Legend has it that this ingenious method was developed by Swedish soldiers during the Thirty Years' War to keep warm when dry wood was scarce.
To make one, split a large log into four or six segments, leaving the base intact. Note that this usually requires a saw, as a hand axe can easily split the log completely. Alternatively, you can split the entire log and then tie it together with metal wire. Once your log "torch" is prepared, place it upright, put tinder in the middle, and light it. The log serves as both the fuel and the holder, while the vertical slits allow air to circulate, feeding the flames. This method provides a stable, concentrated flame, perfect for cooking or distributing heat over a larger area.
The Dakota Smokeless Fire
 Image: Katie Drazdauskaite
If you love a good campfire but hate the smoke, the Dakota Smokeless Fire might be perfect for you. Designed for stealth and efficiency, this method is widely used by the United States military due to its low light signature, reduced smoke, and ease of ignition in strong wind conditions.
This style of fire pit originated with the Dakota people, who used it for hunting bison on the windy Great Plains. To build one, dig two small holes about a foot apart and connect them with a tunnel. One hole serves as the fire pit, while the other acts as an air intake. This setup not only minimizes smoke and maximizes heat but also increases fuel efficiency, helping to conserve wood.
The Upside-Down Fire
 Image: Josh Clemence
The Upside-Down fire is an unconventional method that burns from the top down. Begin by placing the largest logs at the bottom, then layer progressively smaller logs on top, followed by kindling, and finally tinder. Light the tinder, and as it burns, it ignites the layers beneath it.
This counterintuitive technique can be a lifesaver in certain situations, as it ensures a slow, steady burn that requires much less maintenance. It provides a consistent heat source for longer periods, making it ideal for situations where you need sustained warmth or cooking time without constant tending.